Note
Go to the end to download the full example code.
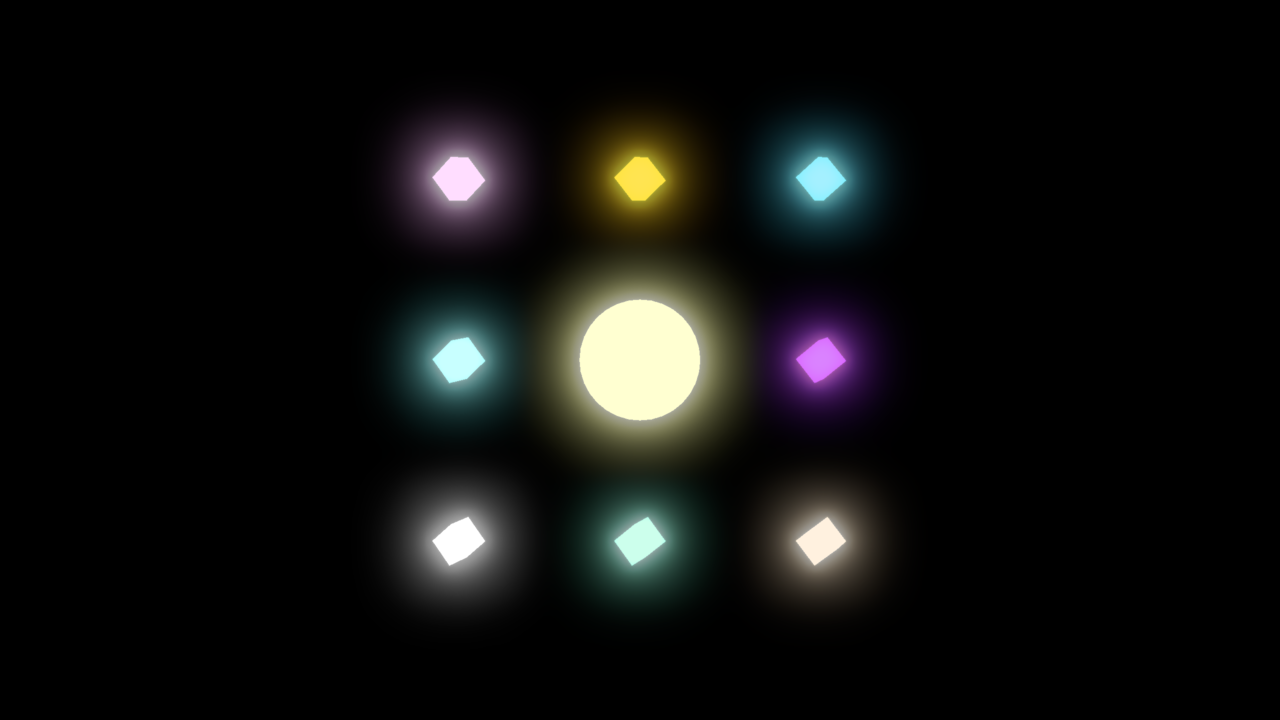
Physical Based Bloom Effect Demo
This example demonstrates the Physical Based Bloom effect pass, which creates natural-looking bloom without thresholding, suitable for HDR rendering pipelines.
Based on the technique from Call of Duty: Advanced Warfare presented at ACM Siggraph 2014. See: https://learnopengl.com/Guest-Articles/2022/Phys.-Based-Bloom
import numpy as np
from rendercanvas.auto import RenderCanvas, loop
import pygfx as gfx
import pylinalg as la
import time

from wgpu.utils.imgui import ImguiRenderer
from imgui_bundle import imgui


# Create canvas and renderer
canvas = RenderCanvas(title="Physical Based Bloom Demo", size=(1280, 720))
renderer = gfx.renderers.WgpuRenderer(canvas)

# Create HDR scene with bright objects
scene = gfx.Scene()

# Add some bright emissive objects
# Bright sphere in center
sphere_geo = gfx.sphere_geometry(radius=1)
sphere_mat = gfx.MeshStandardMaterial(
    color=(2.0, 1.5, 0.8),  # HDR bright color (> 1.0)
    emissive=(1.0, 0.8, 0.4),  # Strong emission
    emissive_intensity=3.0,
)
sphere = gfx.Mesh(sphere_geo, sphere_mat)
scene.add(sphere)

# Smaller bright cubes
cubes = []
cube_geo = gfx.box_geometry(0.5, 0.5, 0.5)
for i in range(3):
    for j in range(3):
        if i == 1 and j == 1:  # Skip center position
            continue
        cube_mat = gfx.MeshStandardMaterial(
            color=np.random.rand(3) * 2.0,  # HDR bright color
            emissive=np.random.rand(3),
            emissive_intensity=3.0,
        )
        cube = gfx.Mesh(cube_geo, cube_mat)
        cube.local.position = ((i - 1) * 3, (j - 1) * 3, 0)
        scene.add(cube)
        cubes.append(cube)

# Setup camera
camera = gfx.PerspectiveCamera(45, 16 / 9)
camera.local.position = (0, 0, 20)

scene.add(gfx.Background.from_color((0.0, 0.0, 0.0, 1)))

controller = gfx.OrbitController(
    camera, register_events=renderer, target=sphere.world.position
)

# Create bloom effect pass using the new API
bloom_pass = gfx.renderers.wgpu.PhysicalBasedBloomPass(
    bloom_strength=0.4,
    max_mip_levels=6,
    filter_radius=0.005,
    use_karis_average=False,
)

# Add bloom pass to renderer's effect passes
renderer.effect_passes = [bloom_pass]

# Setup lights
light = gfx.DirectionalLight()
light.local.position = (5, 5, 5)
light.visible = False
scene.add(light)
ambient = gfx.AmbientLight(intensity=0.1)
ambient.visible = False
scene.add(ambient)


gui_renderer = ImguiRenderer(renderer.device, canvas)


def draw_imgui():
    imgui.set_next_window_size((400, 0), imgui.Cond_.always)
    imgui.set_next_window_pos((0, 0), imgui.Cond_.always)
    imgui.begin("Settings")

    changed, value = imgui.checkbox("Extra lights", light.visible)
    if changed:
        light.visible = value
        ambient.visible = value

    changed, value = imgui.slider_float(
        "Emissive Strength", sphere_mat.emissive_intensity, 0.0, 10.0
    )
    if changed:
        sphere_mat.emissive_intensity = value
        for cube in cubes:
            cube.material.emissive_intensity = value

    imgui.separator()

    changed, enabled = imgui.checkbox("Bloom", bloom_pass.enabled)
    if changed:
        bloom_pass.enabled = enabled

    imgui.begin_disabled(not enabled)
    changed, value = imgui.slider_float(
        "Bloom Strength", bloom_pass.bloom_strength, 0.0, 3.0
    )
    if changed:
        bloom_pass.bloom_strength = value

    changed, value = imgui.slider_int(
        "Max Mipmap Levels", bloom_pass.max_mip_levels, 1, 10
    )
    if changed:
        bloom_pass.max_mip_levels = value

    changed, value = imgui.slider_float(
        "Filter Radius", bloom_pass.filter_radius, 0.0, 0.01
    )
    if changed:
        bloom_pass.filter_radius = value

    changed, value = imgui.checkbox("Use Karis Average", bloom_pass.use_karis_average)
    if changed:
        bloom_pass.use_karis_average = value
    imgui.end_disabled()

    imgui.end()


gui_renderer.set_gui(draw_imgui)


def animate():
    rot = time.time() * 0.5
    sphere.local.rotation = la.quat_from_euler((0, rot, 0))

    # Rotate cubes individually
    for child in cubes:
        child.local.rotation = la.quat_from_euler((rot * 0.7, rot * 1.1, rot * 0.3))

    renderer.render(scene, camera)
    gui_renderer.render()
    canvas.request_draw()


if __name__ == "__main__":
    canvas.request_draw(animate)
    loop.run()
Total running time of the script: (0 minutes 0.659 seconds)
Gallery generated by Sphinx-Gallery
Interactive example
Try this example in your browser using Pyodide. Might not work with all examples and all devices. Check the output and your browser’s console for details.