Note
Go to the end to download the full example code.
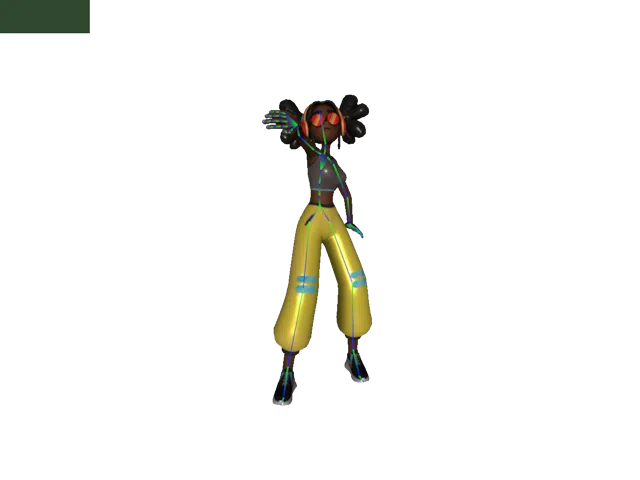
Skinning Animation
This example demonstrates how to animate a skinned mesh using a glTF animation clip.
Note
To run this example, you need a model from the source repo’s example folder. If you are running this example from a local copy of the code (dev install) no further actions are needed. Otherwise, you may have to replace the path below to point to the location of the model.
Once the path is set correctly, you can use the model as follows:
import pygfx as gfx
from rendercanvas.auto import RenderCanvas, loop

from wgpu.utils.imgui import ImguiRenderer
from imgui_bundle import imgui, hello_imgui, icons_fontawesome_4  # type: ignore

gltf_path = model_dir / "Michelle.glb"

canvas = RenderCanvas(
    size=(640, 480), update_mode="fastest", title="Skinnedmesh", vsync=False
)

renderer = gfx.WgpuRenderer(canvas)
camera = gfx.PerspectiveCamera(75, 640 / 480, depth_range=(0.1, 1000))
camera.local.position = (0, 100, 200)
camera.look_at((0, 80, 0))
scene = gfx.Scene()

scene.add(gfx.AmbientLight(), gfx.DirectionalLight())


gltf = gfx.load_gltf(gltf_path, quiet=True)

# gfx.print_scene_graph(gltf.scene) # Uncomment to see the tree structure

# Group[Scene]
# - WorldObject[Character]
# - - SkinnedMesh[Ch03]
# - - Bone[mixamorig:Hips]
# - - - ...

model_obj = gltf.scene.children[0]
model_obj.local.scale = (1, 1, 1)

action_clip = gltf.animations[0]

skeleton_helper = gfx.SkeletonHelper(model_obj)
scene.add(skeleton_helper)
scene.add(model_obj)

gfx.OrbitController(camera, register_events=renderer)

stats = gfx.Stats(viewport=renderer)

clock = gfx.Clock()

animation_mixer = gfx.AnimationMixer()
action = animation_mixer.clip_action(action_clip)

action.play()

gui_renderer = ImguiRenderer(renderer.device, canvas)

state = {"pause": False}

# Load pretty font and allow using font-awesome for icons
hello_imgui.load_font_ttf_with_font_awesome_icons("fonts/DroidSans.ttf", 14)


def draw_imgui():
    imgui.set_next_window_size(
        (gui_renderer.backend.io.display_size.x, 0), imgui.Cond_.always
    )
    imgui.set_next_window_pos(
        (0, gui_renderer.backend.io.display_size.y - 40), imgui.Cond_.always
    )
    imgui.begin(
        "player",
        True,
        flags=imgui.WindowFlags_.no_move
        | imgui.WindowFlags_.no_resize
        | imgui.WindowFlags_.no_collapse
        | imgui.WindowFlags_.no_title_bar,
    )

    duration = action_clip.duration

    if action.paused:
        if imgui.button(icons_fontawesome_4.ICON_FA_PLAY, size=(24, 24)):
            action.paused = False
    else:
        if imgui.button(icons_fontawesome_4.ICON_FA_PAUSE, size=(24, 24)):
            action.paused = True

    imgui.same_line()
    avail_size = imgui.get_content_region_avail()
    imgui.set_next_item_width(avail_size.x)
    changed, v = imgui.slider_float(" ", action.time, 0, duration, "%.2f")
    if changed:
        action.time = v
    imgui.end()


gui_renderer.set_gui(draw_imgui)


def animate():
    dt = clock.get_delta()

    animation_mixer.update(dt)

    with stats:
        renderer.render(scene, camera, flush=False)
    stats.render()
    gui_renderer.render()
    canvas.request_draw()


if __name__ == "__main__":
    renderer.request_draw(animate)
    loop.run()
Total running time of the script: (0 minutes 14.532 seconds)
Gallery generated by Sphinx-Gallery
Interactive example
Try this example in your browser using Pyodide. Might not work with all examples and all devices. Check the output and your browser’s console for details.