Note
Go to the end to download the full example code.
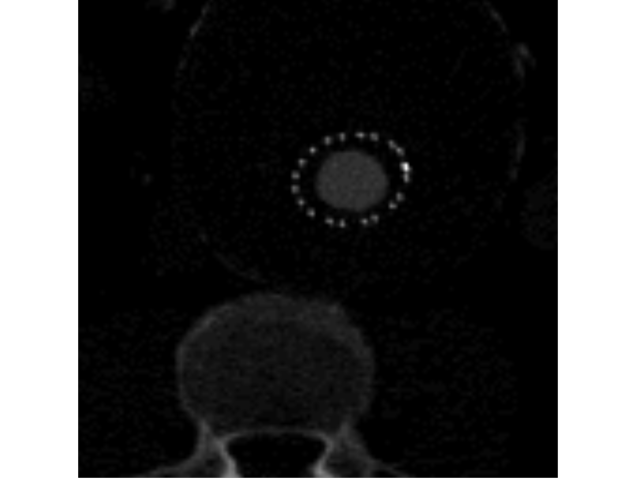
Volume Slice 3
Render slices through a volume, by creating a 3D texture, and viewing it with a VolumeSliceMaterial. Easy because we can just define the view plane.
import imageio.v3 as iio
from rendercanvas.auto import RenderCanvas, loop
import pygfx as gfx


canvas = RenderCanvas()
renderer = gfx.renderers.WgpuRenderer(canvas)
scene = gfx.Scene()

voldata = iio.imread("imageio:stent.npz").astype("float32")
nslices = voldata.shape[0]
index = nslices // 2

vol = gfx.Volume(
    gfx.Geometry(grid=voldata),
    gfx.VolumeSliceMaterial(
        clim=(0, 2000),
        plane=(0, 0, -1, index),
        pick_write=True,
    ),
)
scene.add(vol)

camera = gfx.OrthographicCamera(128, 128)
camera.local.position = (64, 64, 128)
camera.local.scale_y = -1  # in this case we tweak the camera, not the plane


@renderer.add_event_handler("wheel")
def handle_wheel_event(event):
    global index
    index = index + event.dy / 90
    index = max(0, min(nslices - 1, index))
    vol.material.plane = 0, 0, -1, index
    canvas.request_draw()


@vol.add_event_handler("pointer_down")
def handle_pointer_event(event):
    info = event.pick_info
    if "index" in info:
        print(info["index"], info["voxel_coord"])


if __name__ == "__main__":
    canvas.request_draw(lambda: renderer.render(scene, camera))
    loop.run()
Total running time of the script: (0 minutes 0.422 seconds)
Gallery generated by Sphinx-Gallery
Interactive example
Try this example in your browser using Pyodide. Might not work with all examples and all devices. Check the output and your browser’s console for details.